Cooking A-Z :: B is for Browned Butter Chocolate Chip Cookies

My first time browning butter was a pretty amazing experience. I managed to brown it without burning it and my oh my, the smell was heavenly. I typically don’t like the smell of butter, but browned butter, well, that’s a whole ‘nother story.

My birthday passed recently, and of course, I made my own birthday cake! I’ll be making a post on that very soon. (psst! it’s an oreo cake)

These really are some AWESOME cookies, so I highly recommend trying these out. The browned butter adds a dimension to the cookies that you can’t get with any other ingredient.

Image

photo courtesy of bellalimento.com

Ingredients:

  • 2 sticks unsalted butter
  • 2 1/4 cups all purpose flour
  • 1 1/4 teaspoon baking soda
  • 1/4 teaspoon kosher salt
  • 1 1/4 cup packed brown sugar
  • 1/4 cup granulated sugar
  • 2 Eggs
  • 1 1/2 teaspoons pure vanilla extract
  • 1 cup milk chocolate chips
  • fleur de sel to garnish – optional

Directions:

  1. Into a heavy bottom sauce pan melt butter over medium heat. Continue cooking until butter turns brown. Stirring constantly. Remove from heat. Set aside to cool.
  2. Into a large bowl: mix: flour, baking soda, and salt. Set aside.
  3. Into your stand mixer add: butter and sugar. Mix until combined. Add eggs, vanilla and continue mixing.
  4. Gradually add flour mixture and mix until just combined. Fold in chocolate chips.
  5. Transfer dough to refrigerator to set for minimum of 30 minutes.
  6. Preheat the oven to 350 degrees. Using a small cookie scoop, scoop dough balls onto a rimmed baking sheet lined with silicon, parchment or spray with non-stick spray. Leaving space between each for spreading.
  7. Bake for approximately 11 minutes. Allow cookies to cool on pan for a minute and then transfer to a wire rack. Garnish with fleur de sel if desired.

Original Recipe

My First Time . . . With Piping Buttercream Rosettes!

I hope you all had an amazing Mother’s Day! Each and every day should be Mother’s Day considering what they’re always doing for us. This Mother’s Day, I made a layer cake for my amazing mom. I was running a bit (read: very) short on cash this year, so I couldn’t afford to buy her an extravagant gift. So I decided to try my hand at making a cake covered in rosettes.  Image


I did cheat a little, though. I used a dark chocolate cake mix instead of making it from scratch. I had an AP exam coming up, so I didn’t have much time to put together something. However, I did try to spice it up a little by spreading the inside with some delicious nutella.

For the frosting, I just made this basic buttercream and dyed it with a little bit of Americolor’s Teal food gel.

I know this isn’t perfect, but hopefully I’ll improve my “frosting skills” as I practice some more. If you have any experiences with frosting that you’d like to share, feel free to comment below!


Cooking A-Z :: A is for Almond Brittle

I’m starting a Cooking A-Z project on my blog to challenge me and spark up my baking experience. I was inspired by Sweets, Eats, and Crafts to do this, and I highly recommend you checking out her blog! It’s quite amazing. Hopefully my posts will inspire you to start a Cooking A-Z of your own.

Okay, so I have a confession. I actually burned my hand pretty badly while making my first batch. It led to a pretty not-so-delightful blister. Oops. But hey, everybody’s gotta make some mistakes to get where they are.. right? Right……? Sigh. Hopefully someones agrees with me there. Anywho, here’s the recipe. It’s originally a recipe for peanut brittle, but I used up all the peanuts I had when I made my burned batch so I had to substitute for almonds.

By the way, you don’t need a functional oven to make this recipe because this is made in the microwave!

PLEASE, PLEASE be extremely careful when making the brittle. If using a slightly smaller bowl, the mixture will overflow when the baking soda is added and you may burn yourself. 

 IMG_6596Ingredients:

  • 1 + 1/2 cups dry roasted almonds (or whichever nut you prefer)
  • 1 cup white sugar
  • 1/2 cup light corn syrup
  • 1 tbsp butter
  • 1 teaspoon vanilla extract
  • 1 teaspoon baking soda


WYD:

  1. IMG_6592
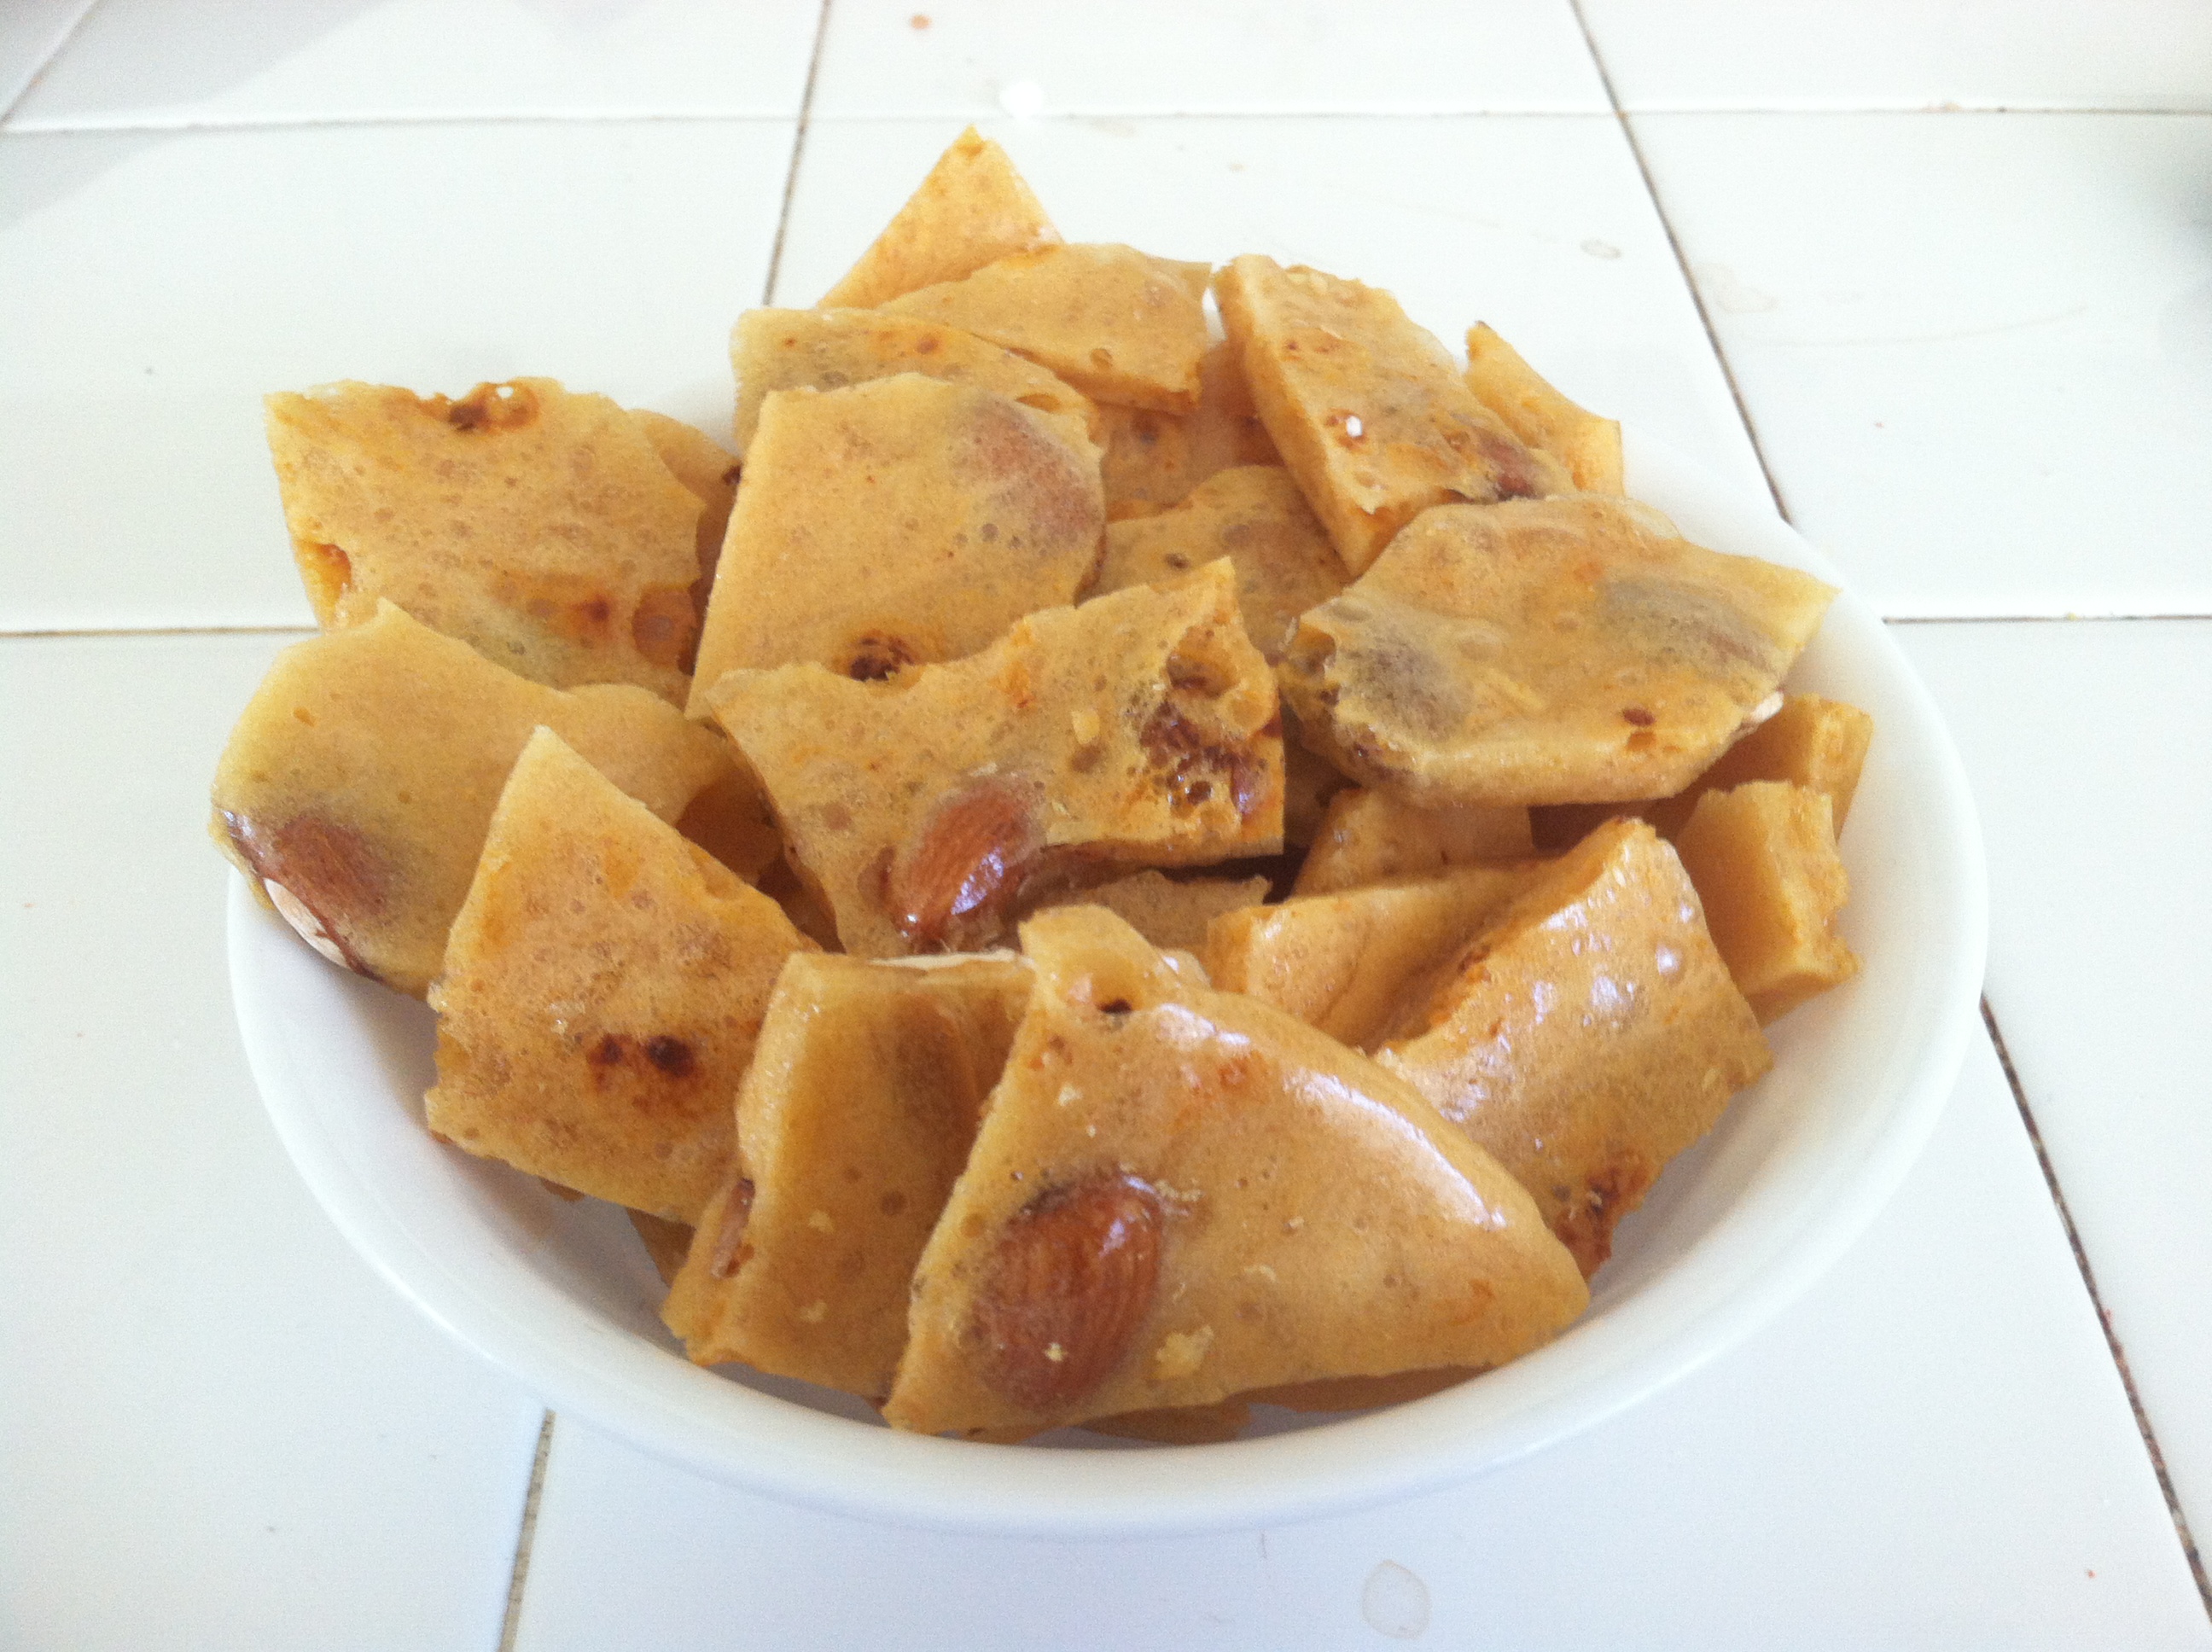
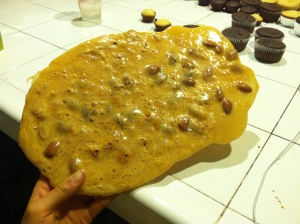
Grease a baking sheet, and set aside. In a glass bowl, combine peanuts, sugar, corn syrup, and salt. Cook in microwave for 6 to 7 minutes on High (700 W); mixture should be bubbly and peanuts browned. Stir in butter and vanilla; cook 2 to 3 minutes longer.
  2. Quickly stir in baking soda, just until mixture is foamy. Pour immediately onto greased baking sheet. Let cool 15 minutes, or until set. Break into pieces, and store in an airtight container.

Yield: well, this much!

Original Recipe